


News

News
A pulp molding machine is a five- or six-figure capital purchase that travels thousands of kilometers before you ever see it run. By the time it reaches your factory, correcting a misaligned press frame, an undersized vacuum pump or a control cabinet wired for the wrong voltage is slow, expensive and entirely your problem. That is why serious buyers insist on a factory acceptance test (FAT) before shipment — a structured, witnessed run at the manufacturer's plant where the machine is checked against the contract, not against a promotional video.
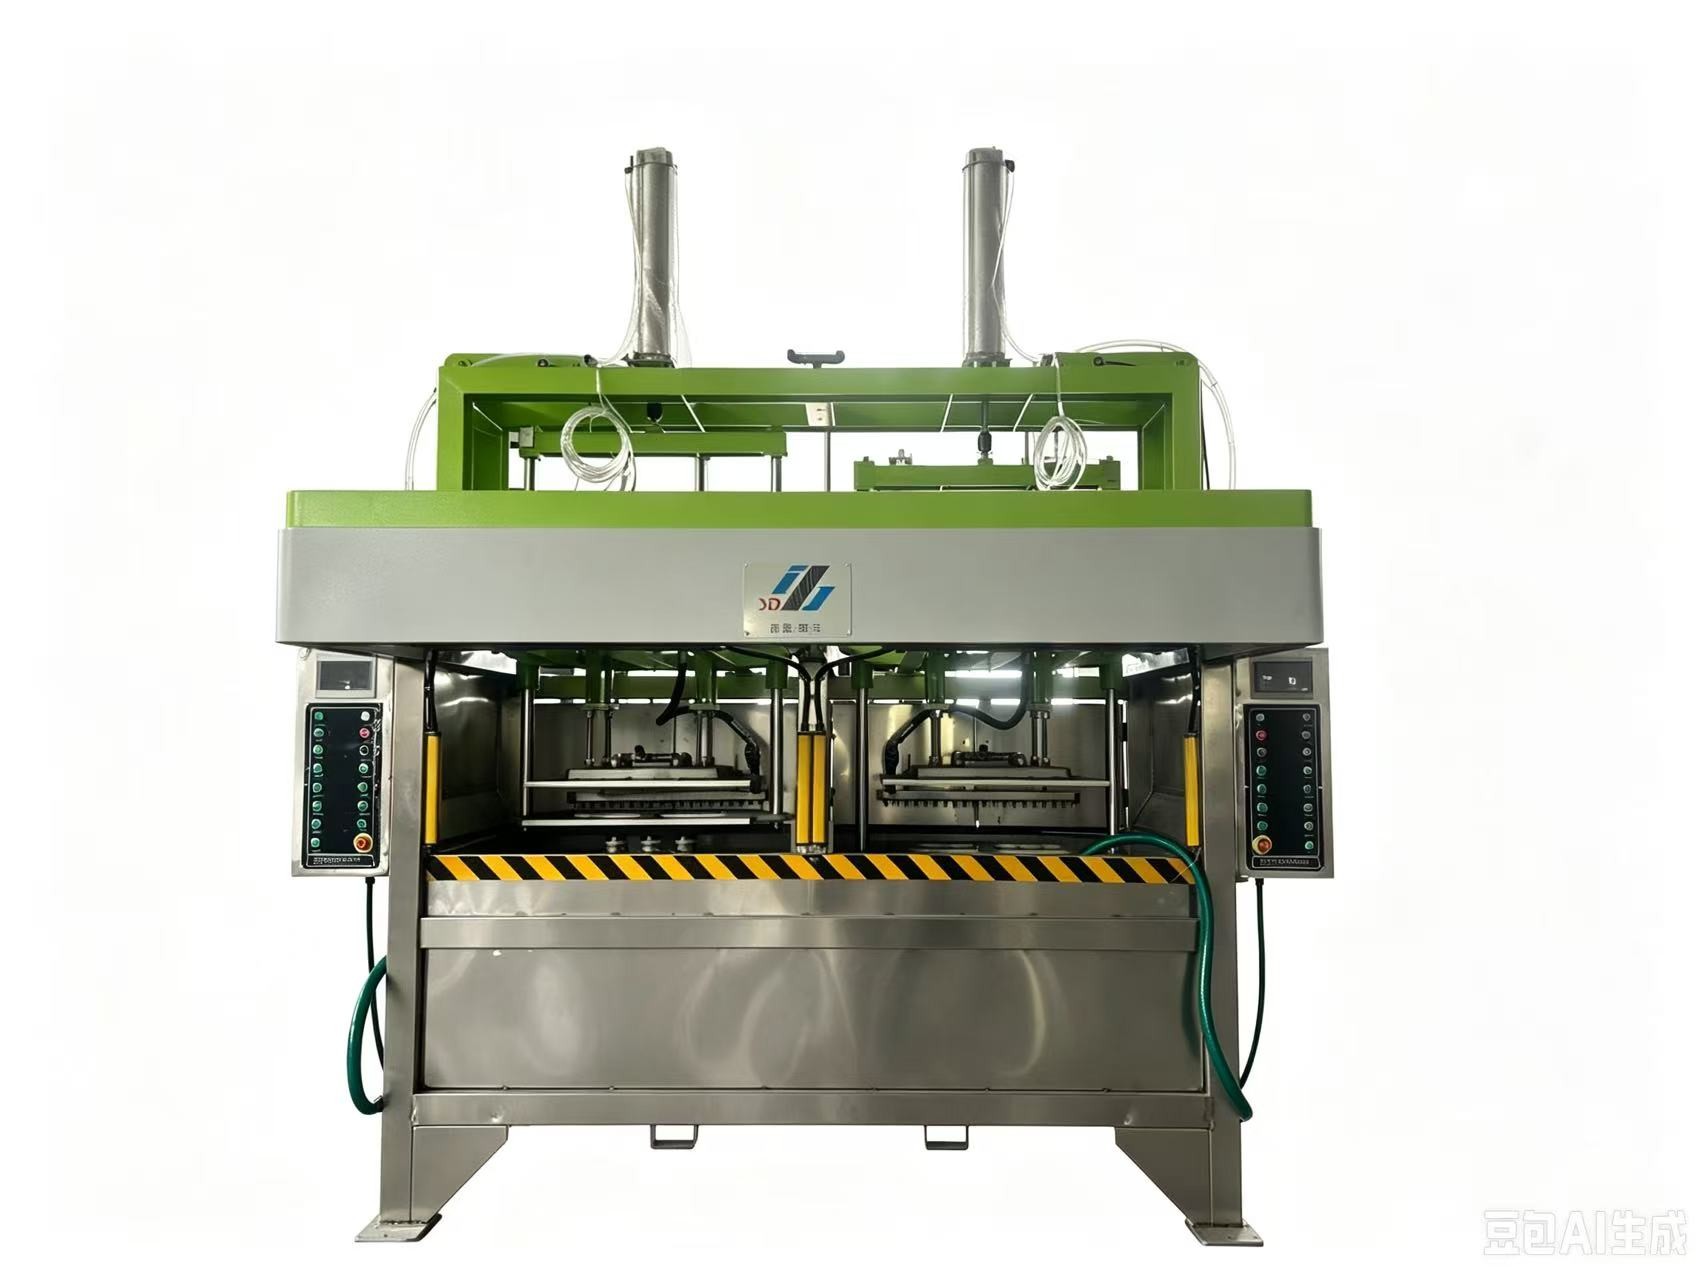
This guide explains what a proper FAT covers, how to measure real output instead of trusting a nameplate, which defects buyers most often miss, and how to document findings so that open issues are closed before the container is loaded rather than after.
Suppliers routinely send short clips of a machine running. Those clips show the best case: fresh pulp, a warm mold, an operator who has run the same product for years. They do not show the machine at cold start, at the end of a shift, or with the fiber mix you actually intend to use.
A witnessed FAT answers three questions a video cannot. First, does the machine perform at the capacity and quality stated in the contract? Second, are the components the ones you paid for — motor brands, vacuum pump capacity, PLC model, frame thickness? Third, is the machine complete, including guards, spare molds, tooling and documentation?
Buyers who skip this step usually discover the gaps during installation, when the supplier's engineer is on site for a fixed number of days and every delay shortens the commissioning window. The cost of one inspection trip is almost always smaller than the cost of one unresolved defect discovered after arrival.
The FAT only has value if its rules are fixed in the sales contract. Agree the following in writing at least two weeks before the scheduled date.
Specify which product will be molded during the test — for example a 30-egg tray, a fruit tray or an industrial insert — and confirm that the mold used is the mold you are buying. Testing with a different mold proves nothing about your tooling.
Write measurable numbers: output per hour, draw depth tolerance, wall thickness range, moisture content after drying, and an acceptable defect rate such as under two percent rejects over a continuous run. "Good quality" is not a criterion; a number is.
Require a continuous run of at least four hours, not a ten-minute demonstration. State whether you or your third-party inspector will attend, and confirm that the supplier bears the cost of the test material.
If travel is impossible, arrange a live video session with fixed camera positions and a checklist read aloud on camera, plus photographs of nameplates and serial numbers. A recorded walkthrough is weaker than attendance but far better than nothing.
Work through the machine system by system. Photograph everything and note serial numbers as you go.
Check frame welds for porosity or unfinished seams, confirm the base is level, and verify that guide rods and columns show no scoring. Ask for the frame steel thickness with a caliper. Confirm that anchor points match the foundation drawing you received.
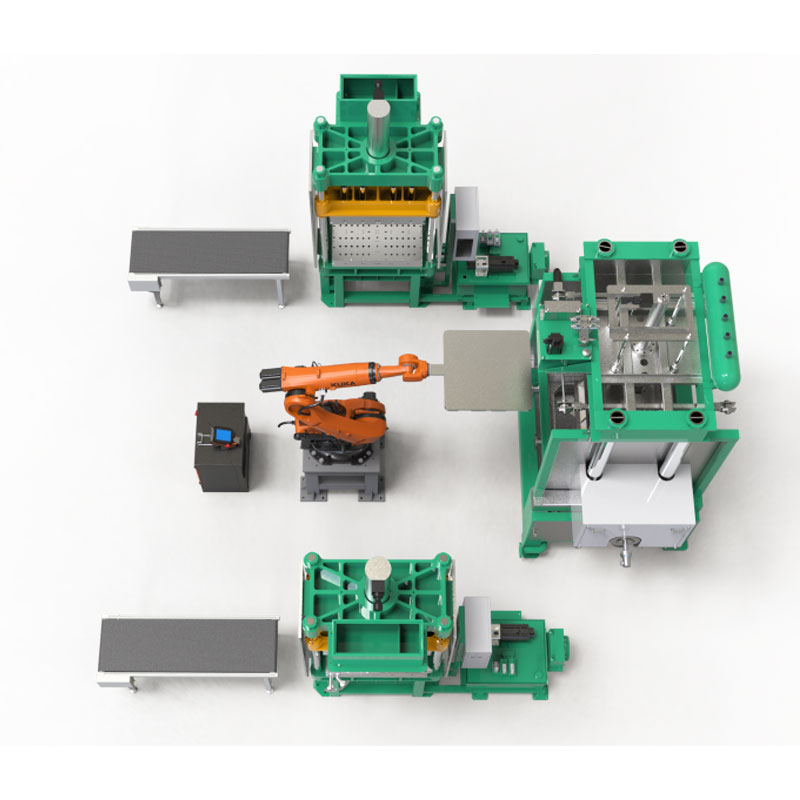
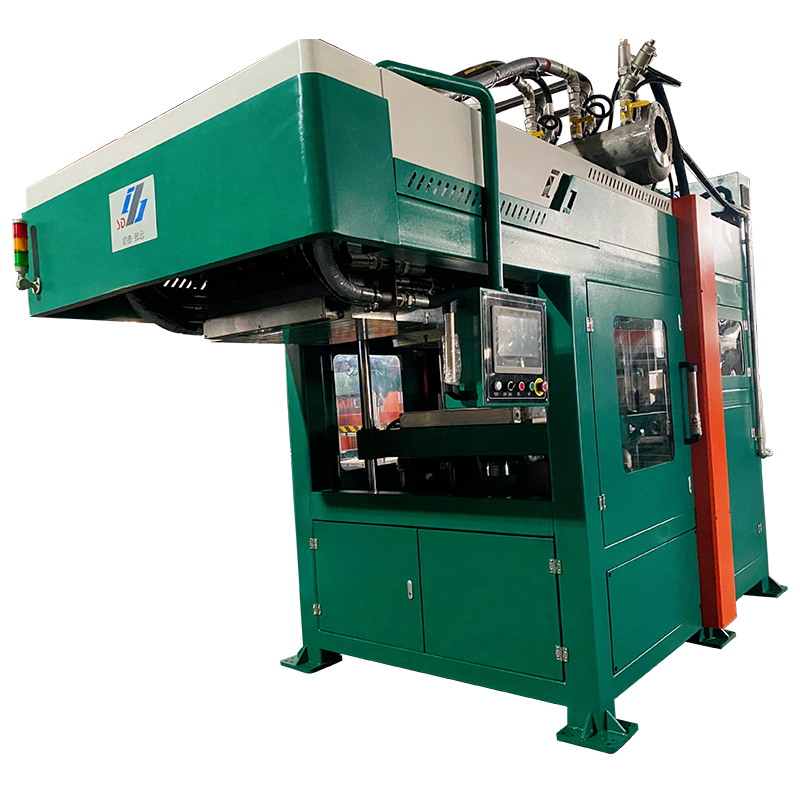
Watch a full cycle: pulp fill, vacuum suction, mold lift, transfer. Confirm vacuum holds steady under load and that the pump is the specified model, not a smaller substitute. Inspect the mold face for uniform mesh tension and look for pulp buildup that signals poor washing or an undersized vacuum line.
Verify that platen temperature reaches set point across the full surface using a contact thermometer or thermal camera at several points. Watch a press cycle for even pressure and check that the hydraulic or pneumatic circuit holds pressure without dropping.
Open the cabinet. Look for labeled terminals, correctly sized breakers, a proper grounding bar and no loose wire ends. Confirm the PLC, touchscreen and inverter brands against the contract. Check that the machine is wired for your voltage and frequency — 380V/50Hz, 440V/60Hz and 415V/50Hz are all common export configurations, and a mismatch means a transformer or motor replacement on arrival.
Test every interlock physically: open the guard and confirm the machine stops, press the emergency stop at each station and confirm it latches, and check that the hot press cannot close with a hand in the mold zone. Safety is the one category where "we will fix it later" is not acceptable.
Nameplate capacity is a theoretical figure based on cycle time with no interruptions. Measure it properly: run continuously, record the start and end time, count only good parts, and calculate output per hour from that data.
Then measure the cycle yourself with a stopwatch, three times in a row, and compare it with the figure in the contract. A machine rated at 1,500 pieces per hour that cycles every 3.2 seconds is not going to deliver 1,500 good pieces once you subtract mold cleaning, pulp changes and rejected parts.
Also weigh output per shift, not per hour. Energy use, pulp preparation time and operator breaks all belong in the real number. Our guide to sizing production capacity explains how to translate hourly figures into a realistic annual plan.
Several problems survive a casual walkthrough because they only appear under specific conditions.
Wet spots and uneven wall thickness. Check parts from the first cycle and the last cycle of the run; differences reveal vacuum or slurry consistency problems.
Mold wear on new tooling. Look closely at the mesh and the sealing edge. A mold that shows compression marks before shipment will fail early in production.
Missing or substituted components. Compare every major component against the packing list and the contract. Substitutions are rarely accidental and always cheaper for the supplier.
Incomplete documentation.
Electrical drawings, hydraulic diagrams, PLC backups, a spare parts list with model numbers and an operation manual in English are part of the product. Without them, your maintenance team is dependent on the supplier for every adjustment.
Use a written FAT report signed by both parties. For each item, record the specification, the measured result, and a pass or fail. Photograph defects at the moment they are found and attach the images to the report.
Every failure needs an owner and a date. The practical rule is simple: no open FAT finding at the time of loading. Allow the supplier to fix items at the plant, re-test the affected system and add a signed addendum — do not accept a promise that the engineer will handle it during installation.
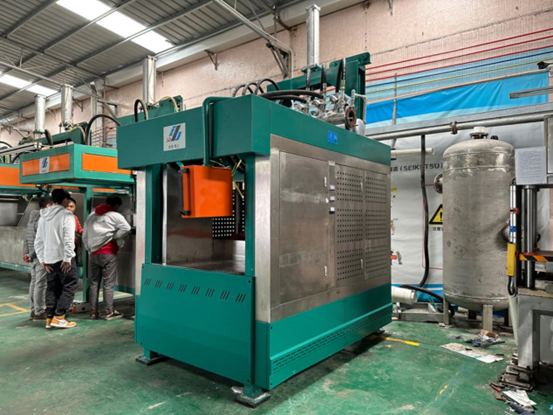
Walk the packing area. Confirm that the machine is anchored to a wooden skid or steel frame, that exposed rods and mold faces are protected, that the control cabinet is sealed against humidity, and that the container loading plan leaves access for lifting equipment at your site. Photograph the loading.
Verify that spare molds, wearing parts, tools and documentation travel with the machine or are shipped in a clearly labeled crate, and that all cartons carry your purchase order number.
Manufacturers with a stable export business welcome a FAT because it protects them from later disputes. If a supplier resists a witnessed test, limits it to a short demonstration, or refuses third-party inspection, treat that as information about how after-sales will go.
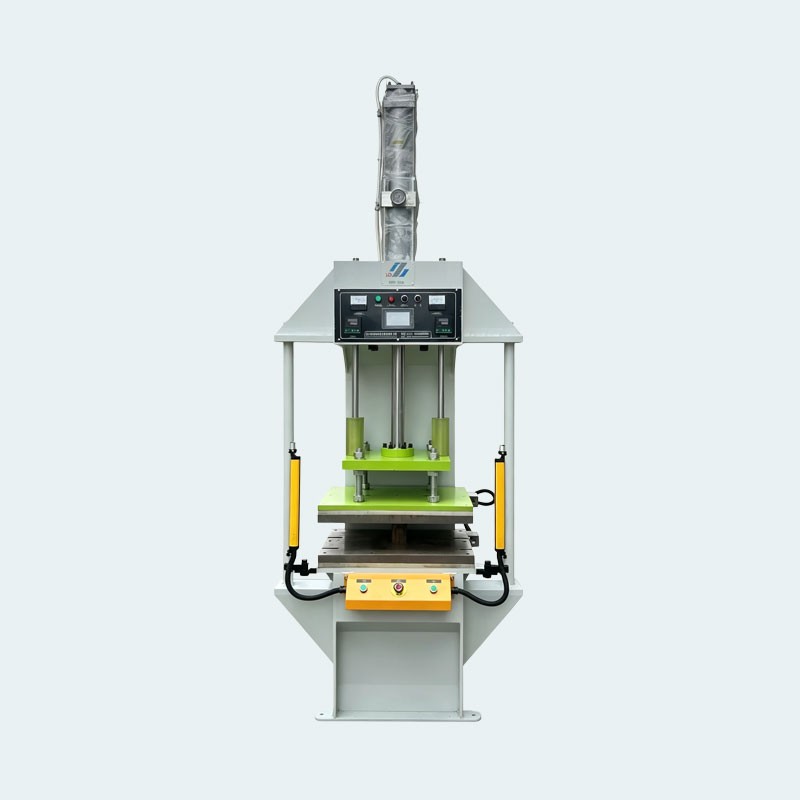
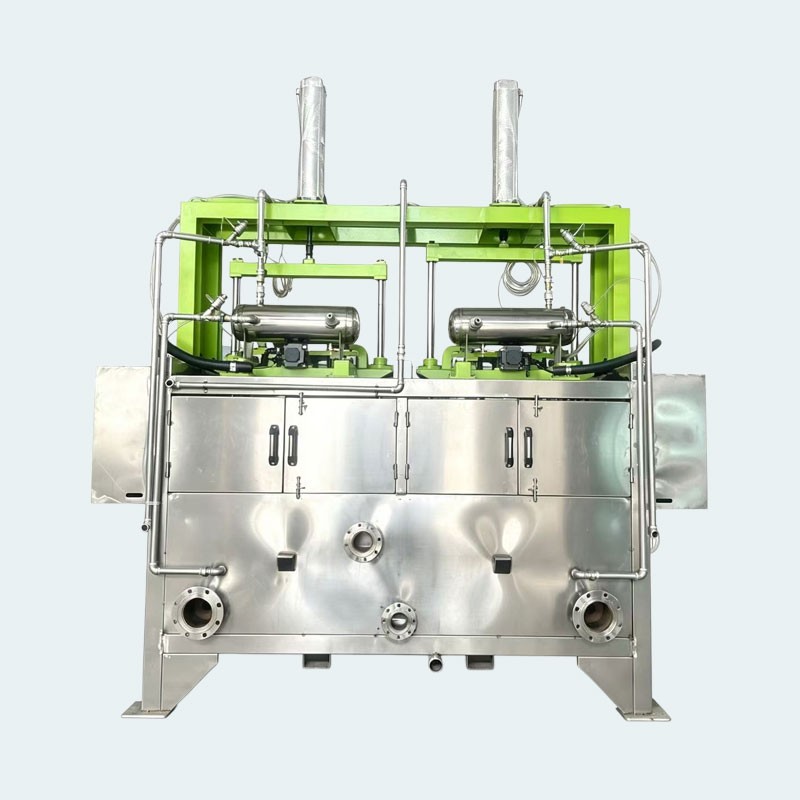
Review the machine range on our pulp molding equipment page — from the single-cylinder, single-station molding machine for smaller volumes to the dual-cylinder, dual-station molding machine for higher output — and the arched pneumatic hot press that handles drying and shaping. Each page lists the configuration you would be testing, which makes the acceptance criteria easier to write.
If you are planning a project and want to know what a realistic test run looks like for your product, contact our engineering team with your target output, product type and destination voltage. A short technical exchange before ordering prevents most problems a FAT is designed to catch.

 +86 189 2452 1063
 s-dzhiyuan@163.com
 18924521063



Online Message

Follow Us


Top
